This is the template I use to create new Android libraries with CircleCI support for Continuous Deployment.
Libraries: Better Than Util Classes
I often find myself copying code from other projects. After some discussion with my colleagues we decided to put everything that we re-use into libraries. Even those tiny util functions you usually just copy-paste when you need it. Libraries are better than copy-pasting for several reasons:
- It makes future work easier
- Writing a library teaches you to think more abstractly about any problem you’re trying to solve.
- Future work can benefit everyone, rather than just the project you’re on
- It forces separation of concerns
Plus many more reasons, but you probably know this already. So here’s the steps I follow to create a library:
How to Make a Library
1. Create a LibraryNameExample project in Android Studio and add a LibraryName module.
I followed this guide for the first part, but I don’t deploy on JitPack. I prefer Bintray for having easier deployment to JCenter(). Being on JCenter gives your library a false sense of official status, which you want.
2. Add the project to GitHub under LibraryName
3. Create the repo on Bintray under LibraryName
4. Add the bintray-release dependency and settings
I followed this guide, and created my account on bintray as instructed there. However I save my BINTRAY_KEY api key in my CircleCI setup, and access it from the gradle setup for bintray-release, like so:
5. Add the project to CircleCI
For my CircleCI config.yml file, I literally just copy-paste the same file across all my library projects for the initial setup. This file doesn’t run tests or anything right now, but as I’m building up my libraries that will change. If it has changed to add features you’re not using, this is the link to the original file at the time of writing.
Also remember to add the environment variable BINTRAY_KEY to your CircleCI settings, like so:
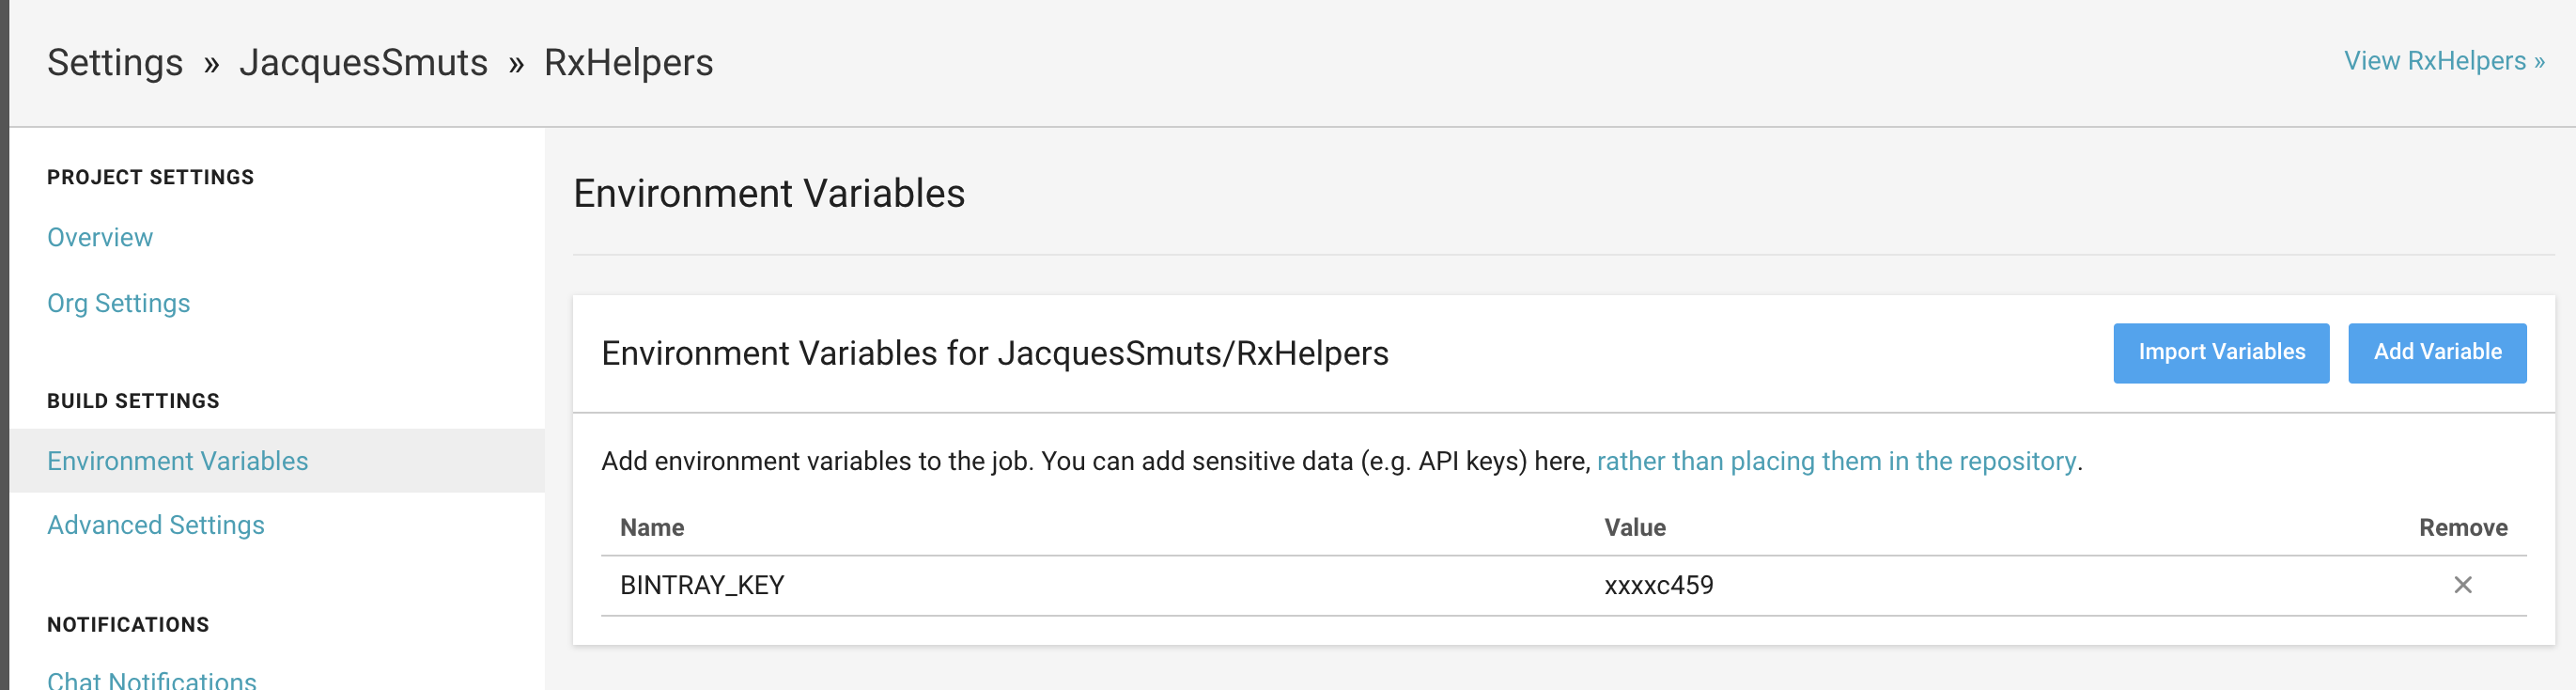
Use your own Bintray API key, from Bintray User settings.
You may also want to set up CircleCI to build only on pull requests. But don’t worry, this config won’t deploy without your say-so.
6. Deploy!
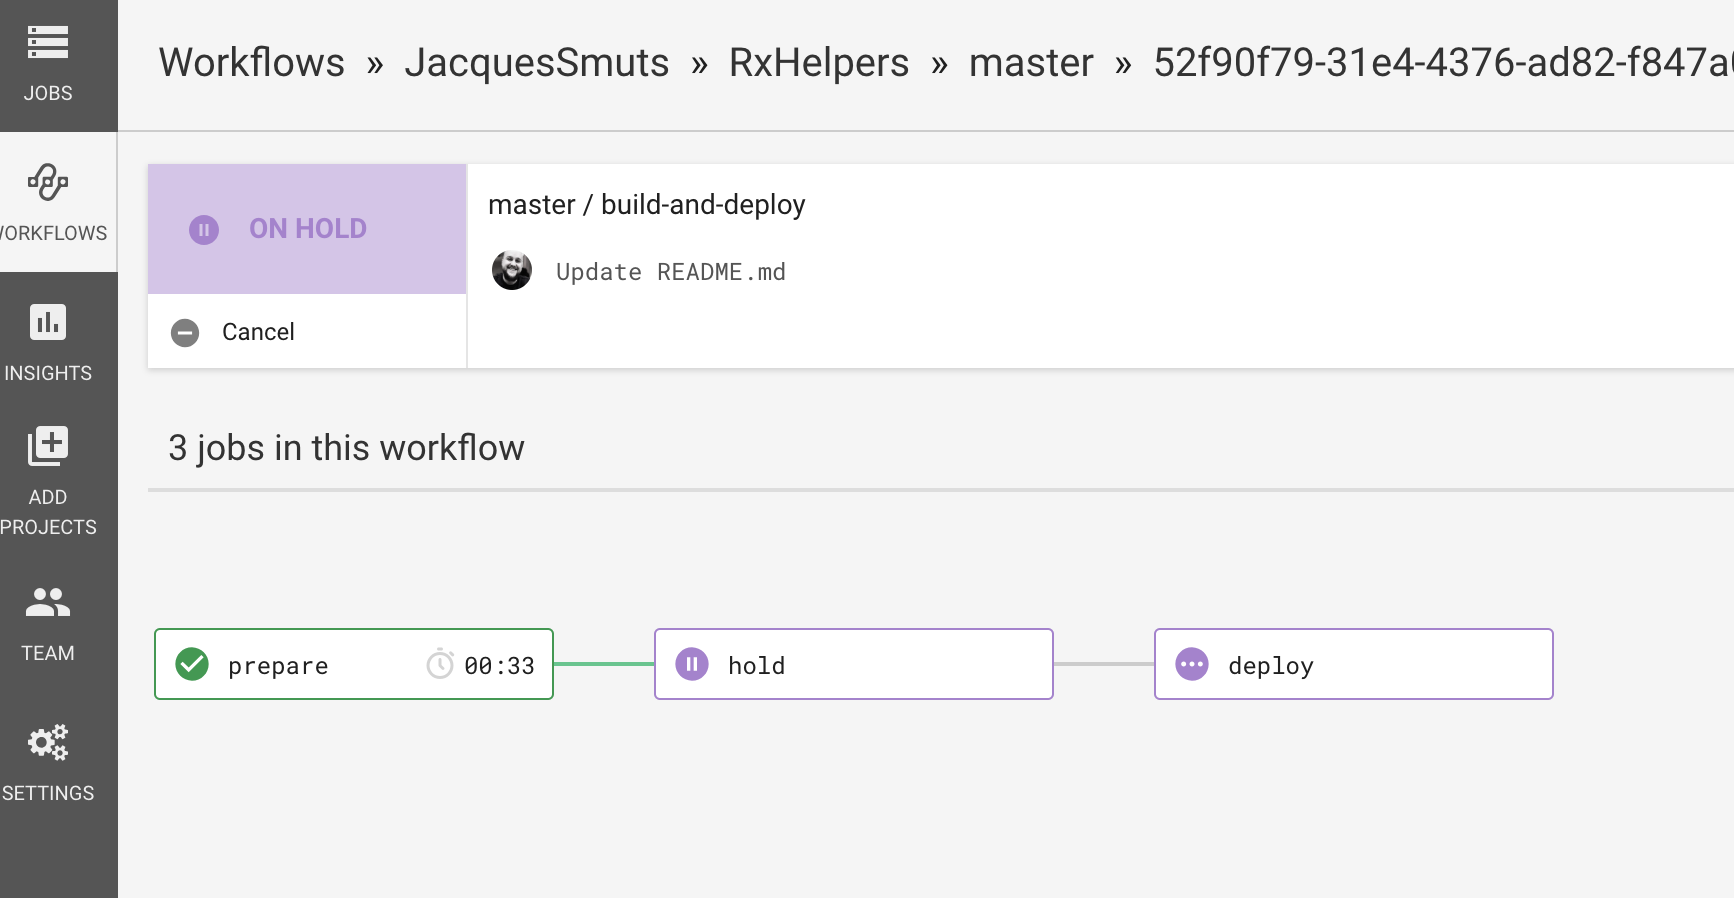
Commit to master and make sure CircleCI builds your project. If you copied my CircleCI config file, you should see a workflow that looks like this:
Hodl
Click the “Hold” button and approve the build. If you do, it will deploy to Bintray. If you get any errors, CircleCI should have logs which explain the issue so you can resolve it from there.
7. Add The Repo to JCenter()
Once you have a package deployed to Bintray, click the “Link to JCenter()” button on the package details view on Bintray. It’s slightly hidden but it’s there somewhere. After a few hours, you should have an approved JCenter() link. You only have to do this once, because every future deployment of this repo will be deployed to JCenter automatically.
8. Update the Readme with Status Badges
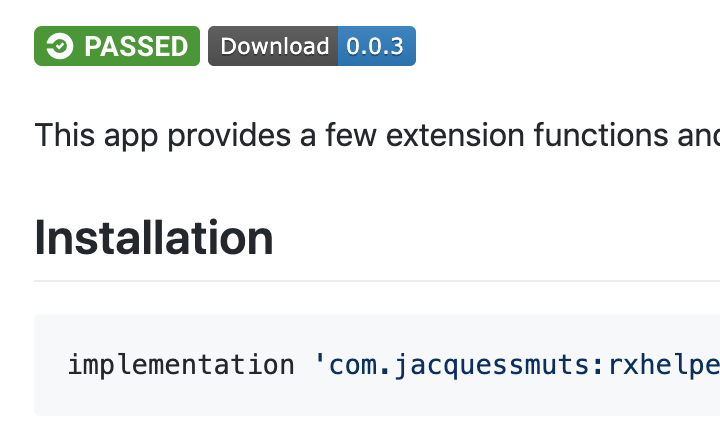
Create a Readme.md in your repo which explains how to use and download your repo. You’ll find the gradle instructions on Bintray, as well as a Status Badge you can paste into your Readme. It will look like this:

and it will update automatically every time you deploy a new version, without needing to update your readme. I usually add a status badge for CircleCI as well.
9. Share It
Congrats, you just deployed your library. Share it with the world. Tweet about it, blog about it, even just share in the comments below. Libraries are amazing.
Examples
Some libraries I’ve made using this method: